Oil Portrait – The individual Painting Stages at each sitting. – View the video below
The first still image demonstrates my process of gridding the canvas to accurately draw the portrait, it is important to accurately draw the outline to capture a likeness of the person you are portraying. You can see i have created a smaller grid around the eyes, this is to focus in on the important area of the eyes.
I create a an underpainting using fast drying oils such as burnt umber and they are painted in thin /lean layers to begin with; it is always advised to paint fat over lean layers. Next you will see at each sitting here im blocking in areas of colour, i intend to add glazes toward the end of the painting so the under layers and blocking in needs careful consideration. You may notice at these early stages i leave and don’t paint on the areas i intend to highlight especially the glint of light on the glasses. I am also adding layers of paint, it is similar to sculpting to capture the likeness of the person, the outlines and shading will create a differnt shape of the face so i carefully build this up to work on the form.
I start to create accurate oil colour by matching the oil, i mix my colours and actually paint onto a separate piece of primed card and hold this up to my reference so i can see if i have the correct colour; this accurate colour matching is helpful and i can focus on each colour and not think too much about temperature, the saturation, lightness, darkness, tone and even the oil pigments i’m using; if i can match the colours like for like and do this across the painting, the paint may harmonise and be a better representation. Out of interest, I understand that each human eye may see colours slightly differently, i see more saturated colours with my left eye.
A handy oil painting tip which has saved on me hours – i lay my oil paint out on my palette in the same order, light to dark – warm to cool, each time i paint and at the end of each sitting my glass palette can be placed in a freezer. This has many benefits; it saves on expensive oils, i can paint in smaller time frames and pre mixed colours may be ready to use when i need them.
Towards the end of the painting i concentrate on edges, if you carfeully observe the edges from the start of the video compared to the end of the video you can see the differences. i hope you find this brief description of my process interesting and in future i intend to take more detailed videos of each step.
For your reference my oil paints for this portrait were: Titanium white, Cadmium yellow, Lemon Yellow, Cadmium Red, Geranium, Magenta, Burnt Sienna, Burnt Umber, French Utramarine Blue, Prussian Green.
If you are interested in commissioning a portrait please visit my website for further information :
https://jonpaulwilson.wordpress.com/commissions/
Additional Links
https://jonpaulwilson.wordpress.com/commissions/
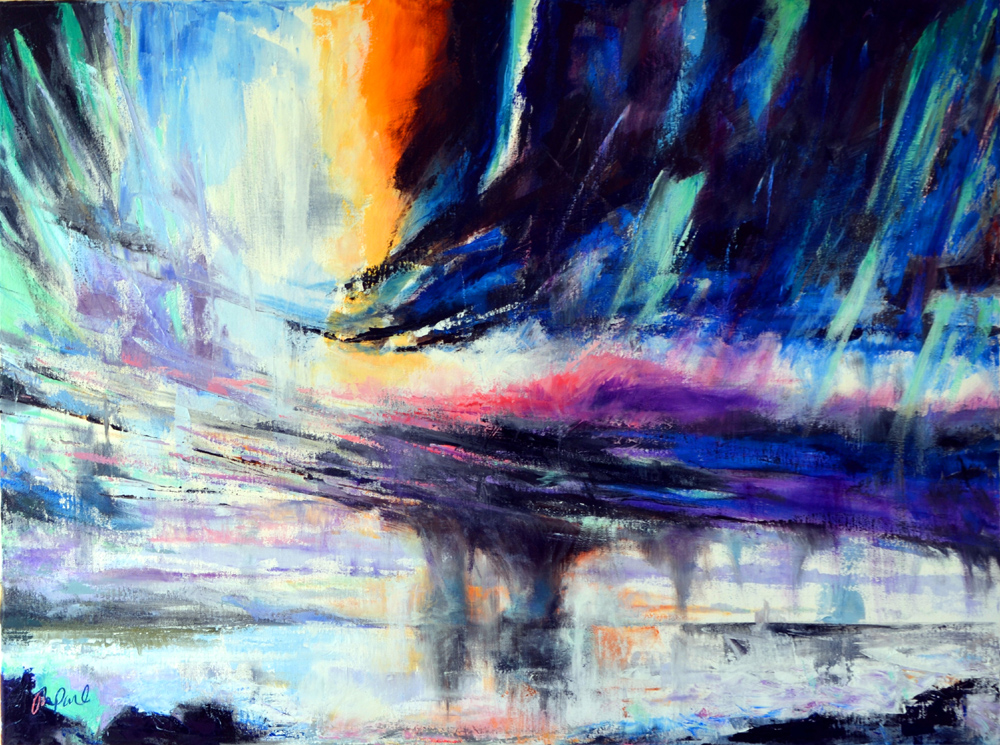
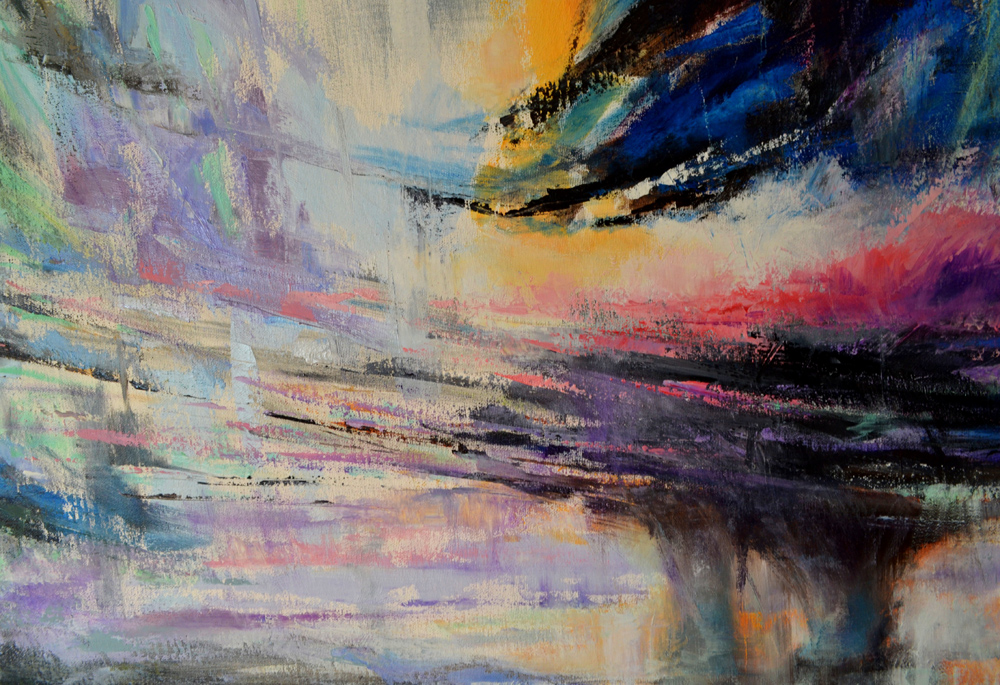
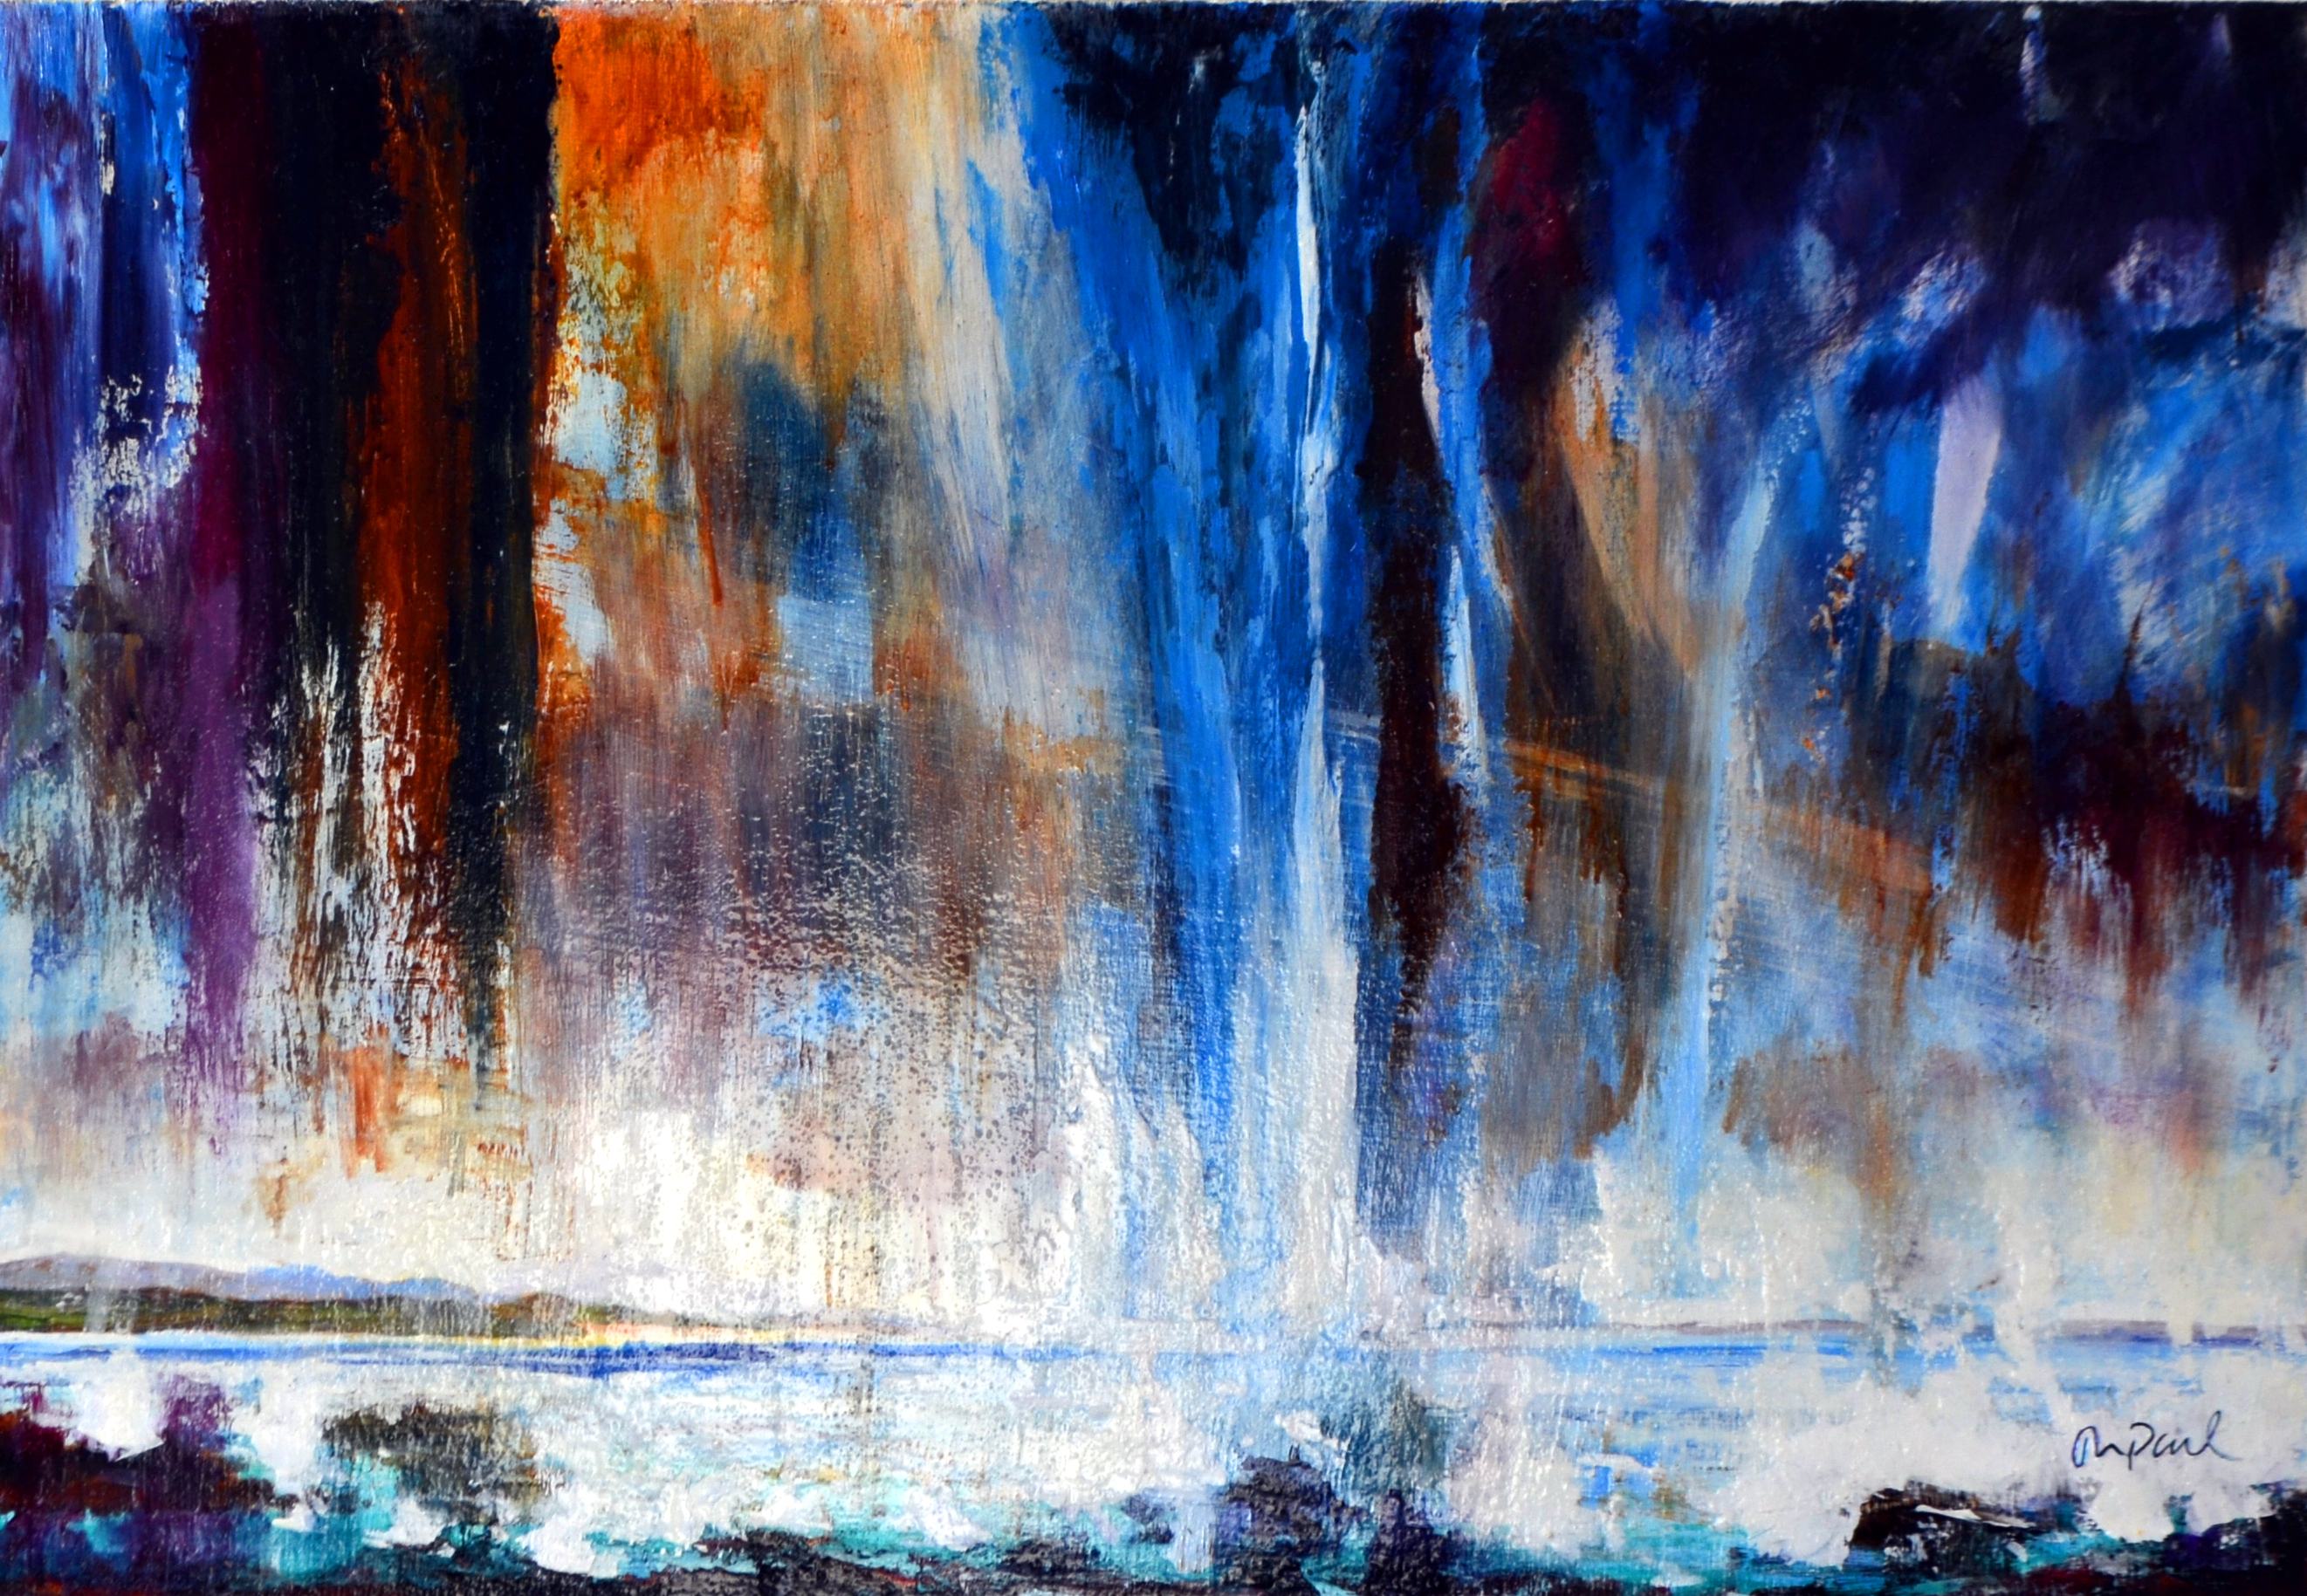
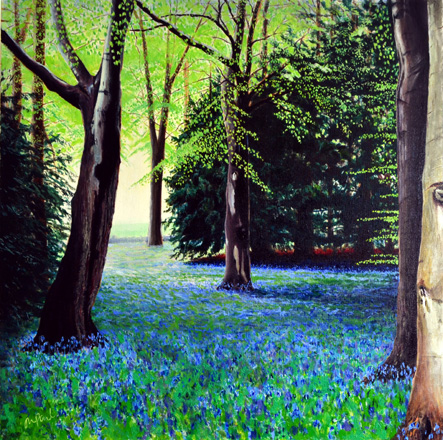
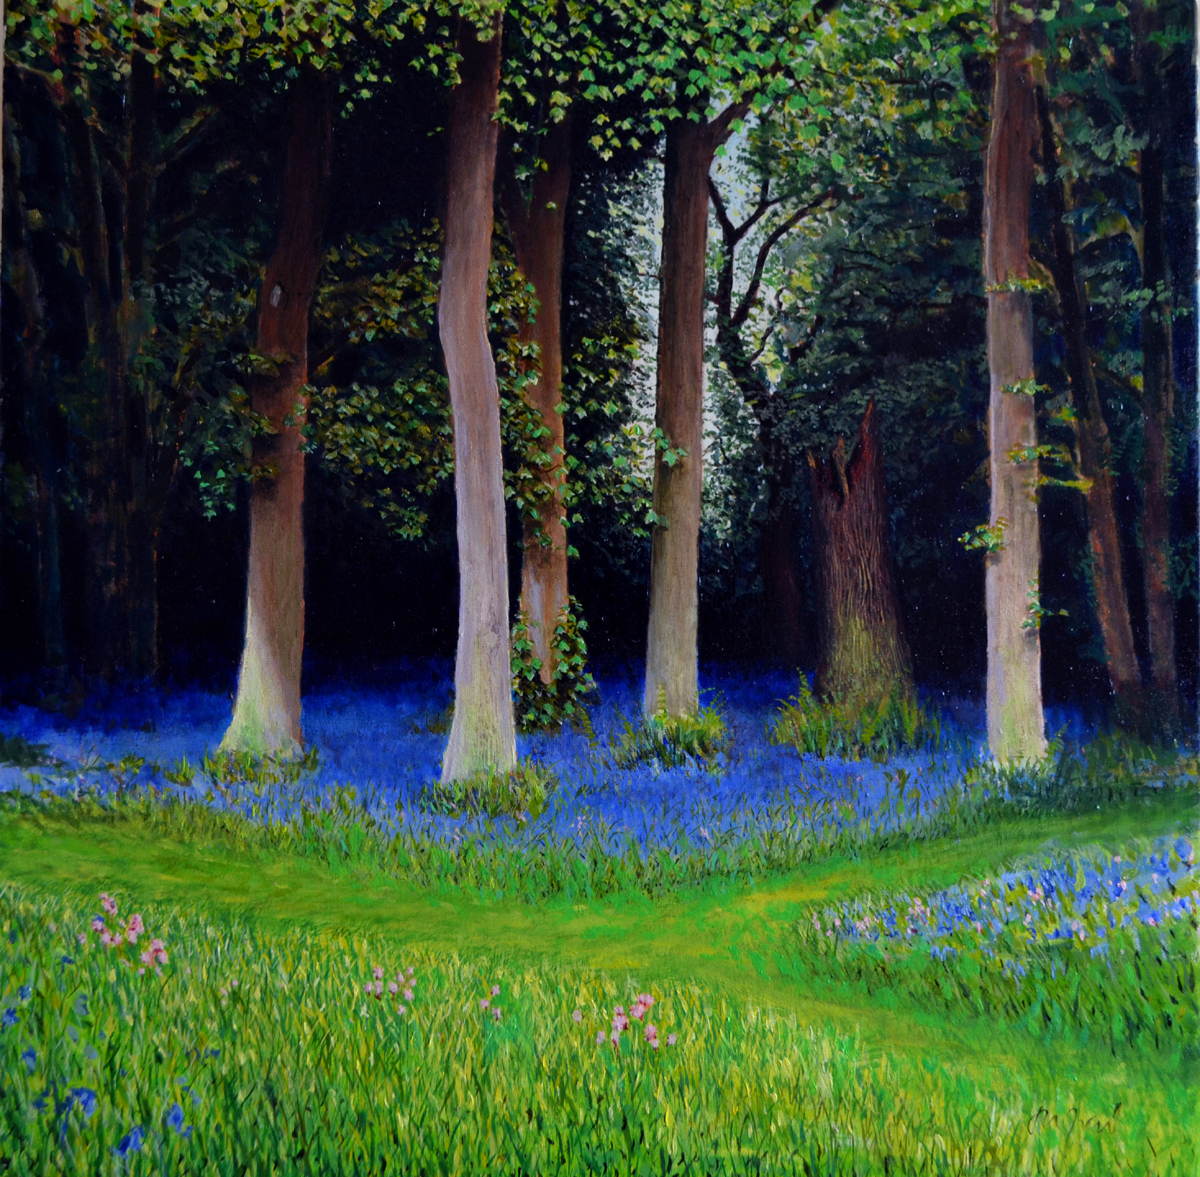
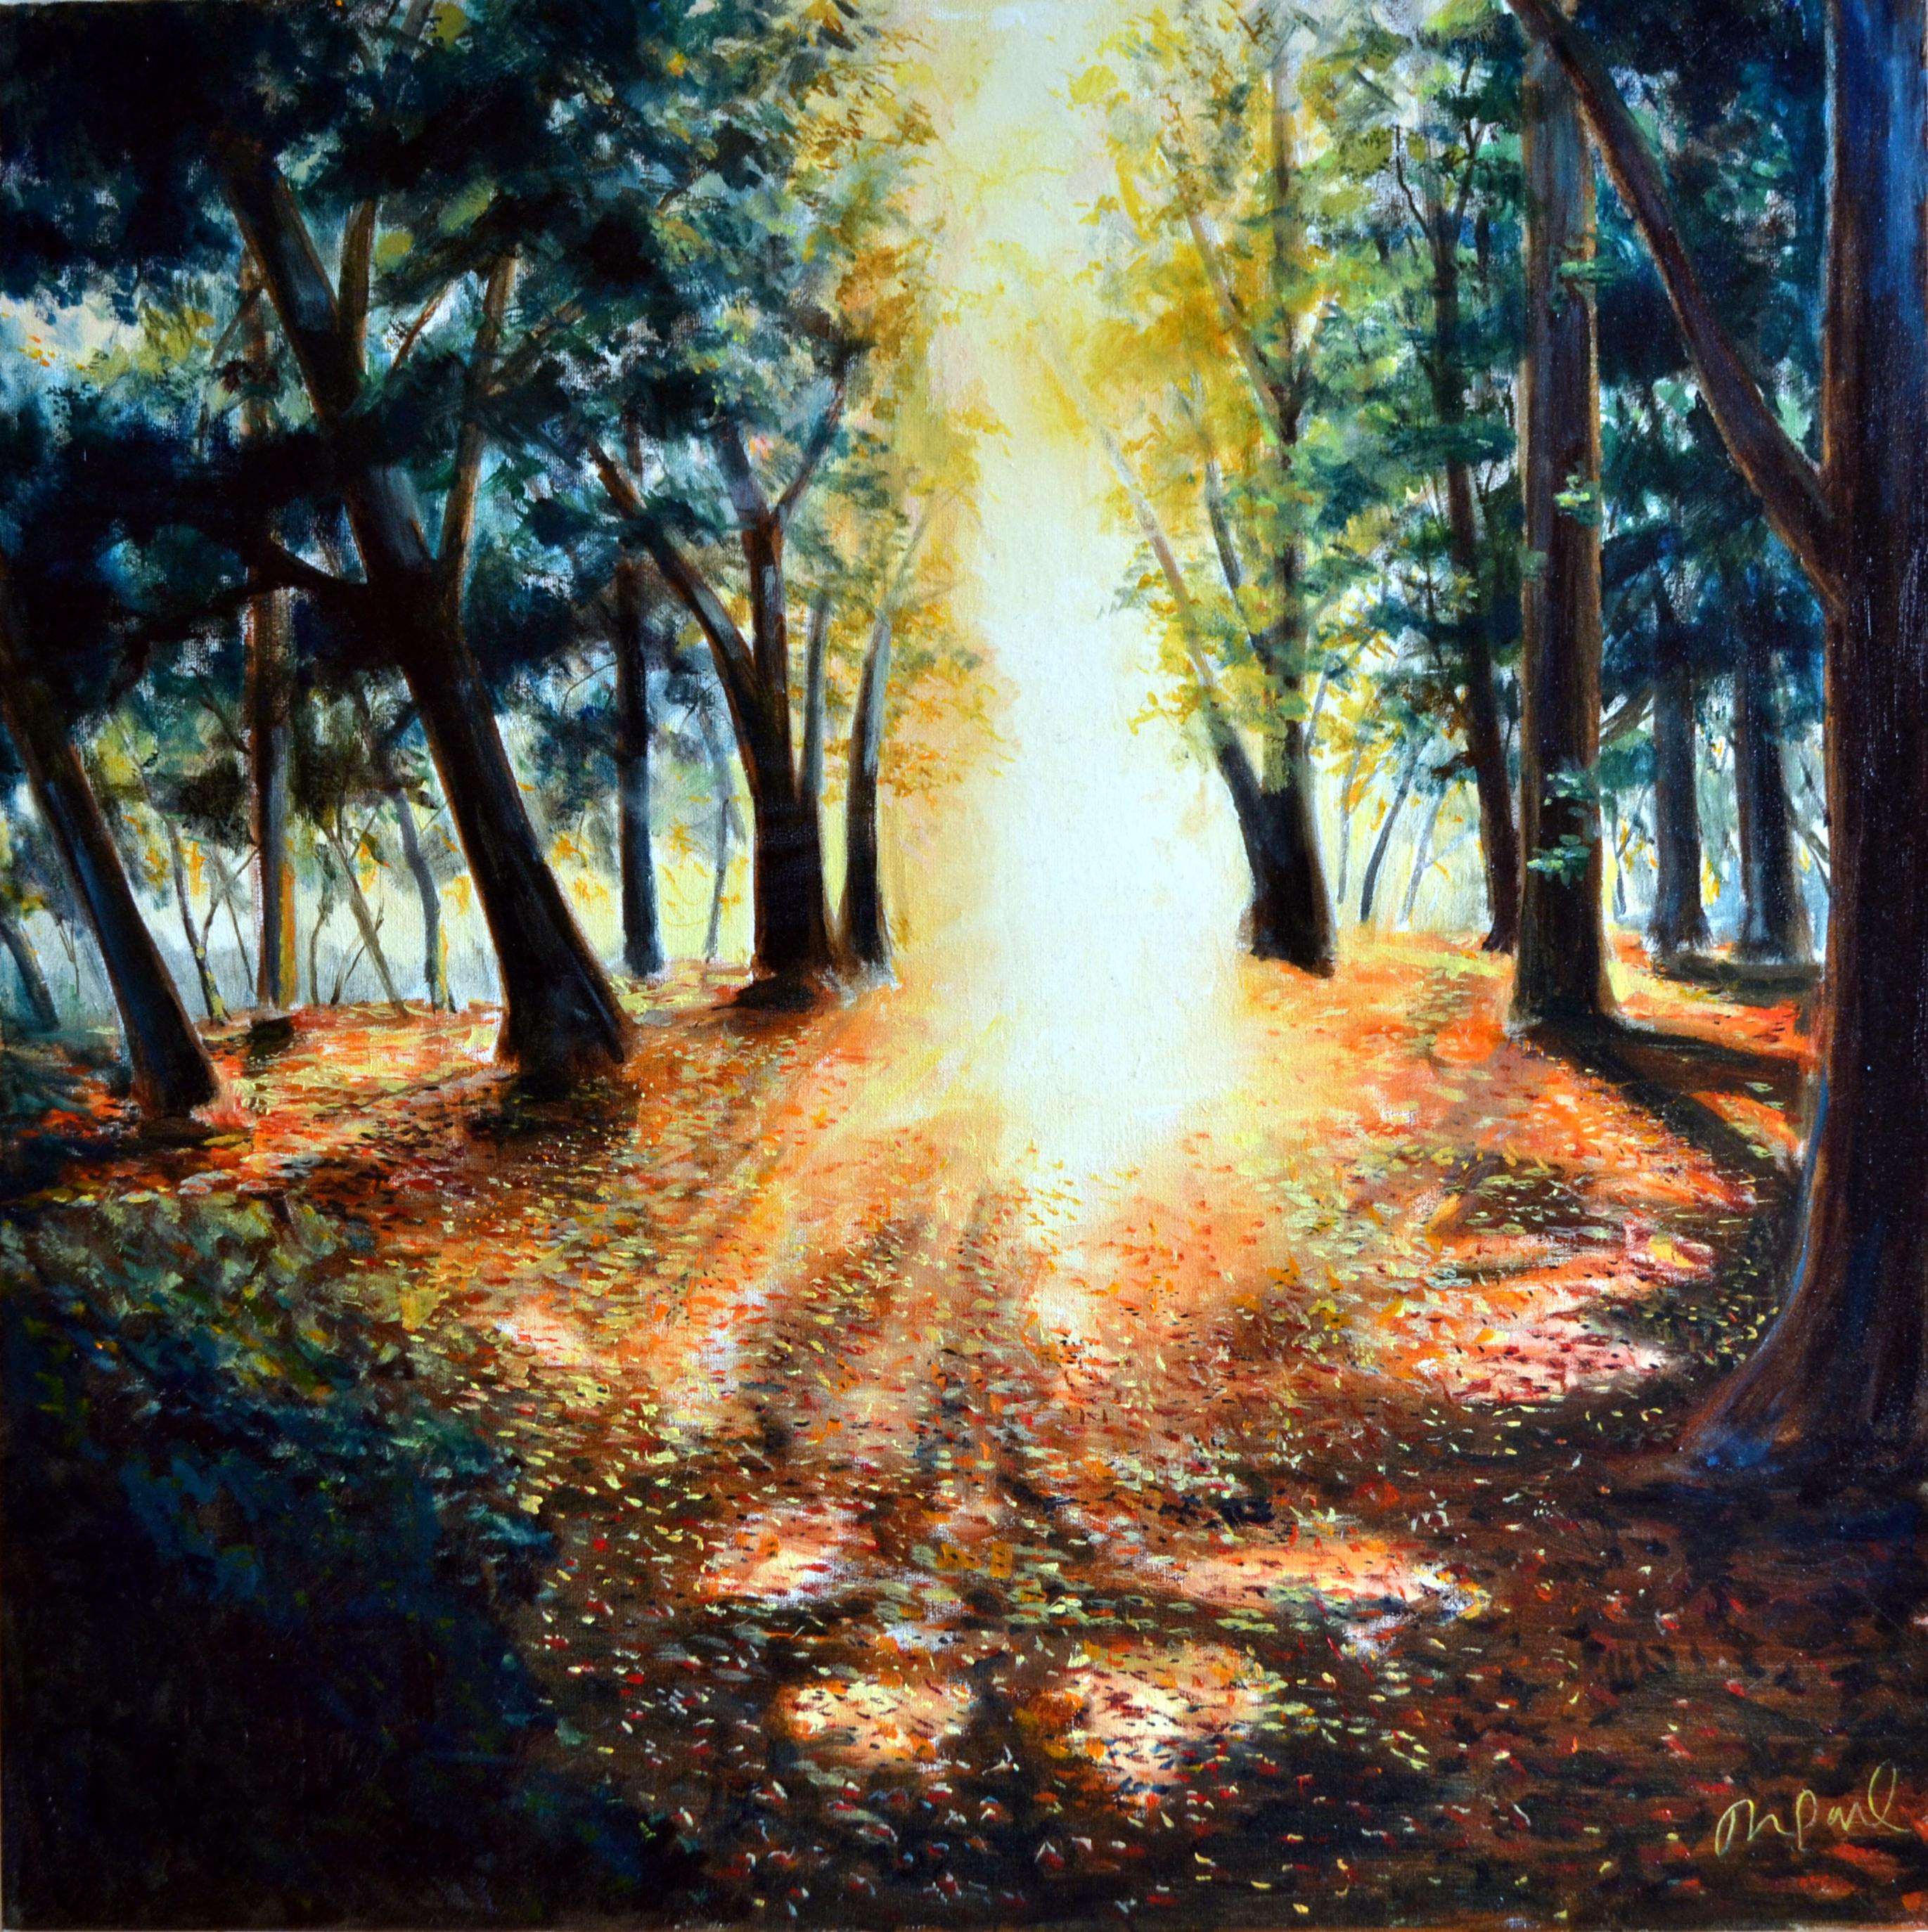
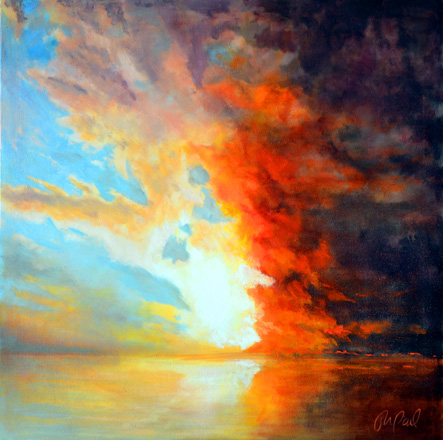
https://jonpaulwilson.wordpress.com/seascapes-paintings/
https://jonpaulwilson.wordpress.com/still-life-paintings/
https://jonpaulwilson.wordpress.com/other-commissions/


 der construction